Support Us


View My Thailand Aerial Photography Gallery
Updated April 2026
If you love flying your drone as much as I do and are planning a trip to Thailand, I’m sure you’re curious about the country’s drone regulations. After all, capturing Thailand’s breathtaking landscapes from above would be an incredible experience!
In this guide, I will lay down all the requirements to register and insure your drone in Thailand, so that you can fly hassle-free.
I’ll also introduce you to our on-the-ground partner in Thailand, who can complete all the drone registration on your behalf, for a small fee.
Ongoing Drone Flight Restrictions
Until December 31, 2025, drone flights in Thailand must generally be announced at least three days in advance, with the UAS Portal app being the easiest way to submit notifications.
However, flights in areas without special zones are permitted immediately and do not require prior notification.
It’s important to note that drone operations are strictly prohibited in certain border districts of the provinces of Sa Kaeo, Buriram, Sisaket, Surin, Ubon Ratchathani, Trat, and Chanthaburi. There is a possibility that these regulations may be extended beyond the current deadline.
Full details can be found on the CAAT’s Facebook post.
The law regarding drone use in Thailand specifies that all drones equipped with cameras, regardless of their weight, must be registered with the relevant authorities.
In Thailand, the regulation of drones falls under the jurisdiction of two main authorities: The Civil Aviation Authority of Thailand (CAAT) and the National Broadcasting and Telecommunication Commission (NBTC).
To comply with this law, all drones weighing more than 250 grams or those equipped with cameras must be registered with both CAAT and NBTC.
Drone registration in Thailand can be a slightly lengthy process, and you should start the process at least two weeks before your departure to Thailand. I will do my best to highlight the steps to make the registration process easy to understand.
Drone registration in Thailand can be a slightly lengthy process, and you should start the process at least two weeks before your arrival in Thailand. I will do my best to highlight the steps to make the registration process easy to understand.
But wait! Why Not…
We’ve partnered with Thaifreude, a local travel website and agency that offers drone registration services for foreigners visiting Thailand. They will take care of your drone registration and insurance for a small fee, so that you can skip the steps below.
With the ever-changing regulations and laws, I recommend them for a hassle-free drone registration process in Thailand. Many of our readers have found their service helpful.
Visit their website to learn more about the service.
Otherwise, you can follow the steps below to insure and register your drone yourself.
To comply with drone laws in Thailand, you must complete the following three steps.
Before registering your drone with the authorities, you need first to insure your drone. Without insurance, you cannot proceed with registering your drone.
I am sure there are a few drone insurance providers in Thailand, but I’ve had good experience with FEIC.
Their website is easy to navigate, and I had no issues registering my drone with them.
Their lowest-tier plan is sufficient as the insurance liability limit covers THB 1 million, which is the minimum requirement.
After submitting the form, I received the drone insurance certificate within 2 days. This certificate can be used to register your drone with CAAT and NBTC.
The official insurance document can take up to 7 days to arrive. However, the drone insurance certificate is sufficient to proceed to the next step.
Unlike most other countries that require drones to be registered only with the civil aviation authority, Thailand requires drones to be registered with two authorities.
The first is the Civil Aviation Authority of Thailand (CAAT). And the other is the Office of The National Broadcasting and Telecommunications Commission (NBTC).
The CAAT requires the registration of the drone and drone pilot. The NBTC requires registration of the frequency used by the drone.
The process is also documented on the CAAT website.
The registration process for the CAAT has undergone significant changes in 2025. Please follow the instructions on the website, or feel free to contact our partner to help you with the process.
To start the registration process, head to the CAAT website and create an account.
To complete the account creation and registration, you require a local Thai phone number. You can therefore complete this step once you’re in Thailand, or use our partner’s service.
Next, proceed to fill up the form along with all the required information including the invoice for your drone.
After that, you’re required to pass an exam that contains 40 questions. If you answer less than 30 questions correctly, you can retry after 24 hours.
And finally, once you’ve completed the process and obtained your approval, you’re required to stick the registration number on your drone.
You can simultaneously also begin your NBTC application.
The registration process with the NBTC was slightly trickier because it cannot be completed or approved till you arrive in Thailand.
And that’s because the form requires:
But you can still fill in all the other details and save the form. You might need to Google the frequency and transmission power of your drone.
I made the mistake of submitting my application with a document that said “visa on arrival” as proof of my visa and arrival stamp. Fortunately, I received an email stating that my application was fine and that I could update it with the proof once I arrived in Thailand.
After I arrived in Thailand, I updated my application, and it took 1–2 days to get the approval email, which asked me to proceed with the fee payment.
The final step of the process was the most challenging for me because it involved making a payment, in person at a local bank. There was no option for online payment when I applied!
Once the NBTC application is approved, you will receive an email with a “Bill Payment Pay-IN Slip”. You have up to 30 days to make the payment.
My email stated that the fee payment could be made at Kasikorn Bank PCL or cross-bank bill payment via electronic channels. So, I located the closest Kasikorn Bank branch and walked in one morning.
However, I couldn’t make the payment because the bank told me that they no longer accepted such payments and that I should go to a Krung Thai Bank branch.
Unfortunately, there was no Krung Thai Bank near my hotel, so I had to wait till I made a trip to go to Old Phuket Town to make the payment. Luckily, there is a 7-day window to make the payment.
I found this step to be slightly inconvenient. Although the Bill Payment Pay-IN Slip lists many banks that accept the payment, my experience was different.
I really wish there was an easier (online) payment method. Especially, as I imagine many tourists carry their drones into Thailand and if they stay in a small town, a bank might be hard to locate.
Anyway, once the NBTC fee is paid, all formalities regarding your Thailand drone registration are complete!
Pro-tip: You can ask your hotel staff to help you pay the fee. Just make sure you tip them.
Are the steps too much effort?
You can take advantage of our partner, Thaifreude, who will take care of your drone registration and insurance for a small fee, so that you can skip the steps above.
With the ever-changing regulations and laws, I recommend them for a hassle-free drone registration process in Thailand. Many of our readers have found their service helpful.
Only during the day-time.
There are also designated no-fly zones in Thailand. The list of no-fly locations can be found on the CAAT website.
Yes, flying in and out of Thailand with your drone shouldn’t be a problem.
If you’re paranoid and want to be extra prepared, carry printouts or PDFs of your approvals while travelling in Thailand. You never know if you may need them.
Drone laws in Thailand can be amended or changed without prior notice. So, it’s best to always check the official CAAT and NBTC websites.
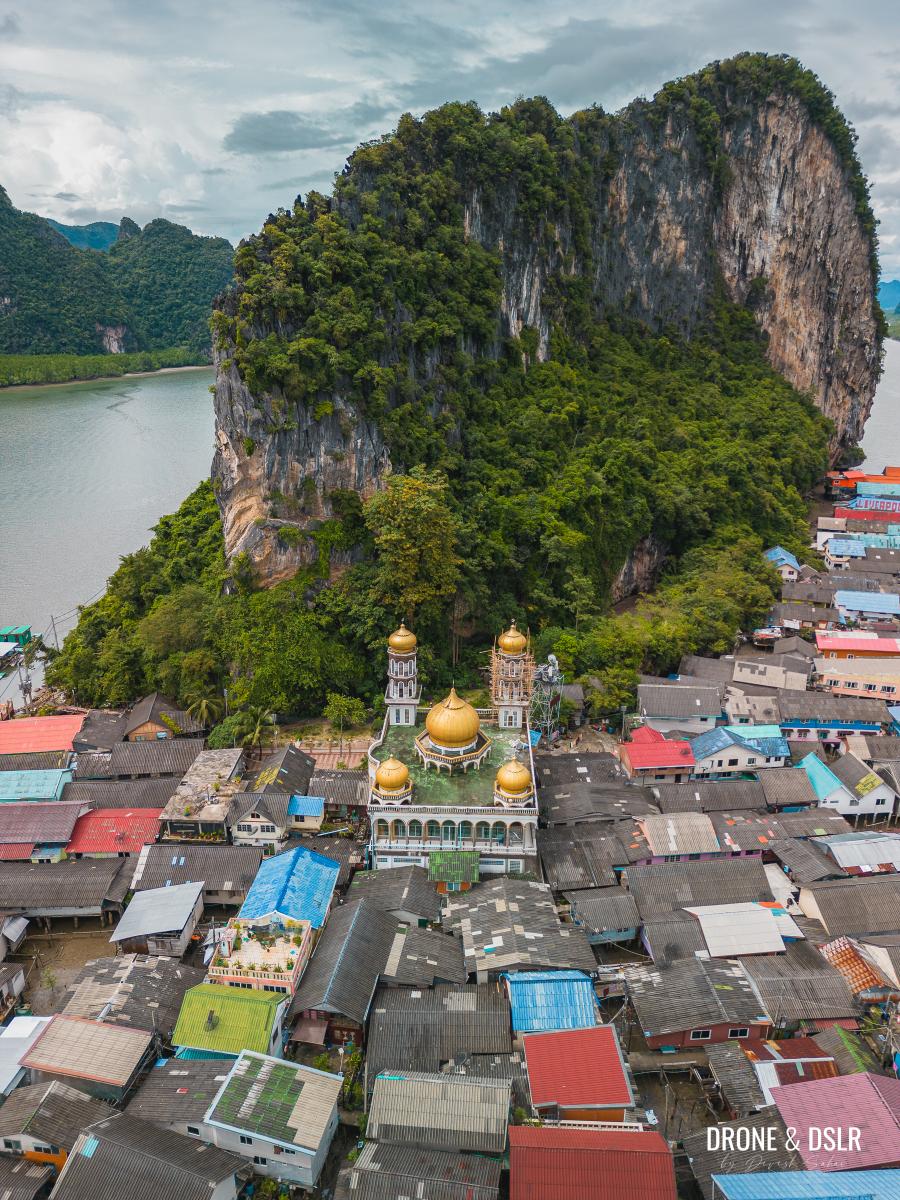
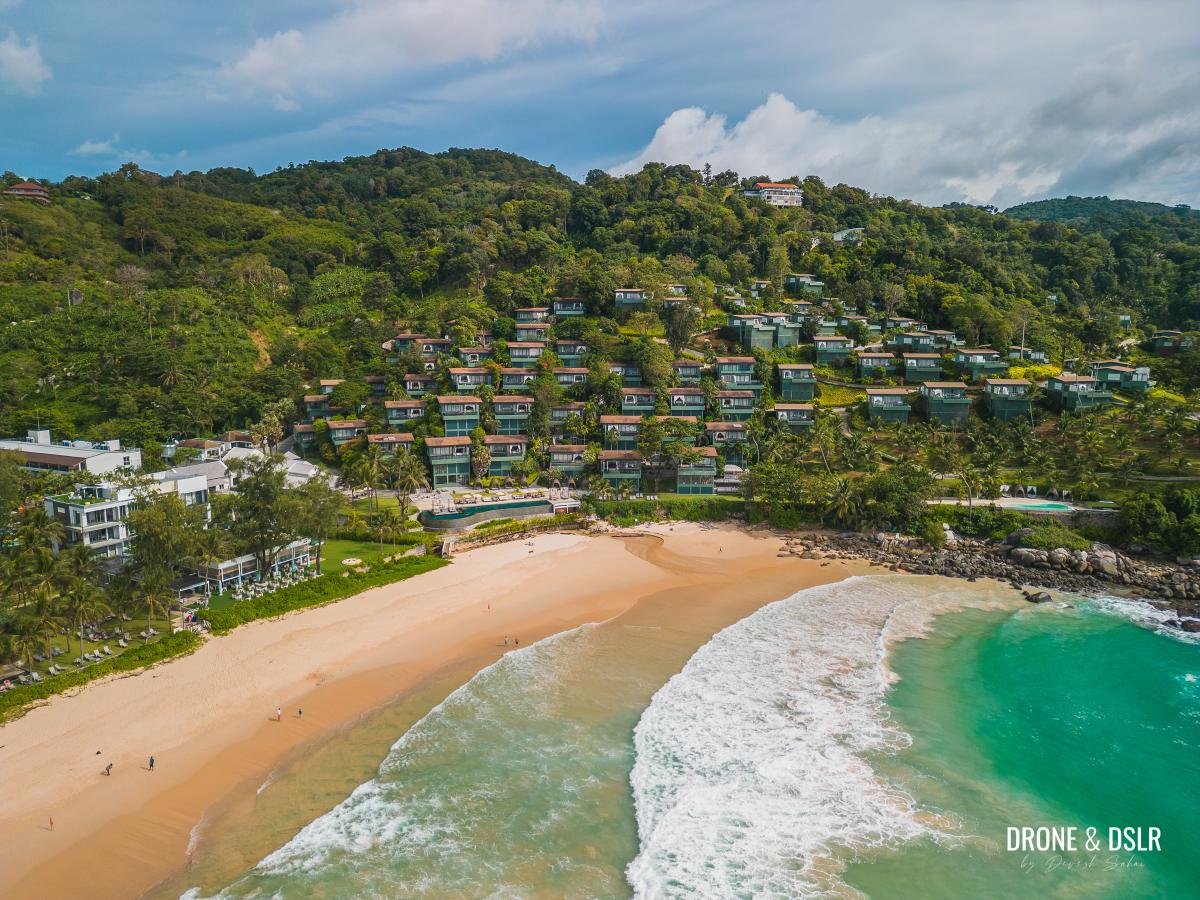
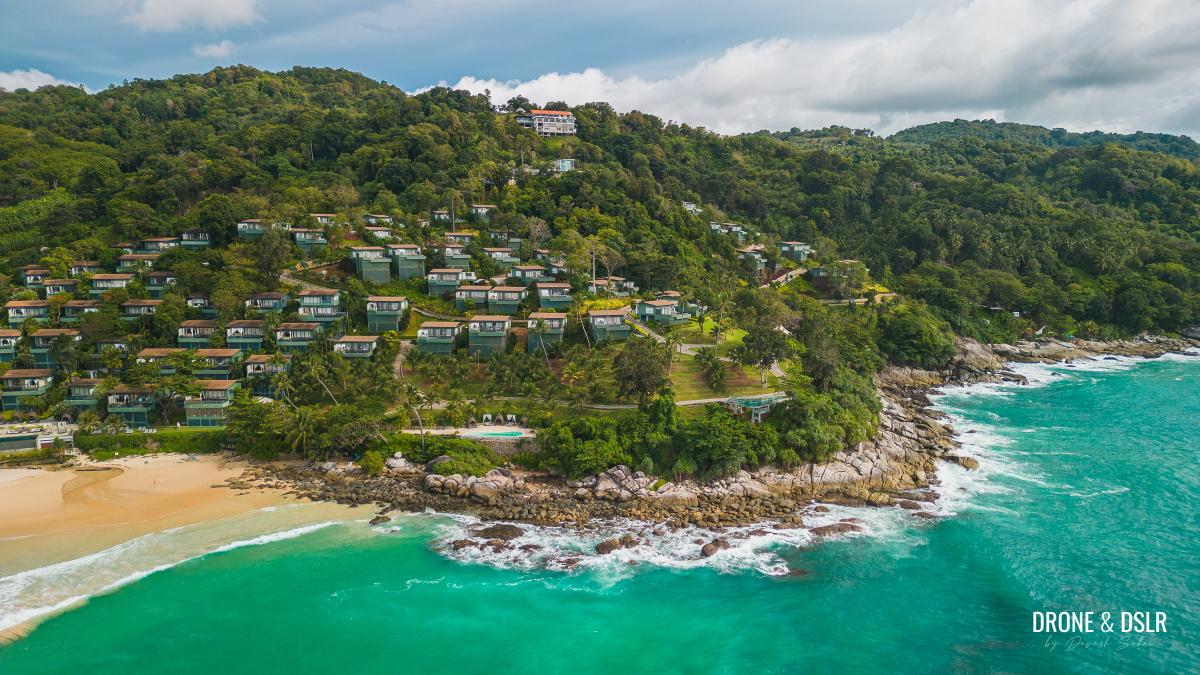
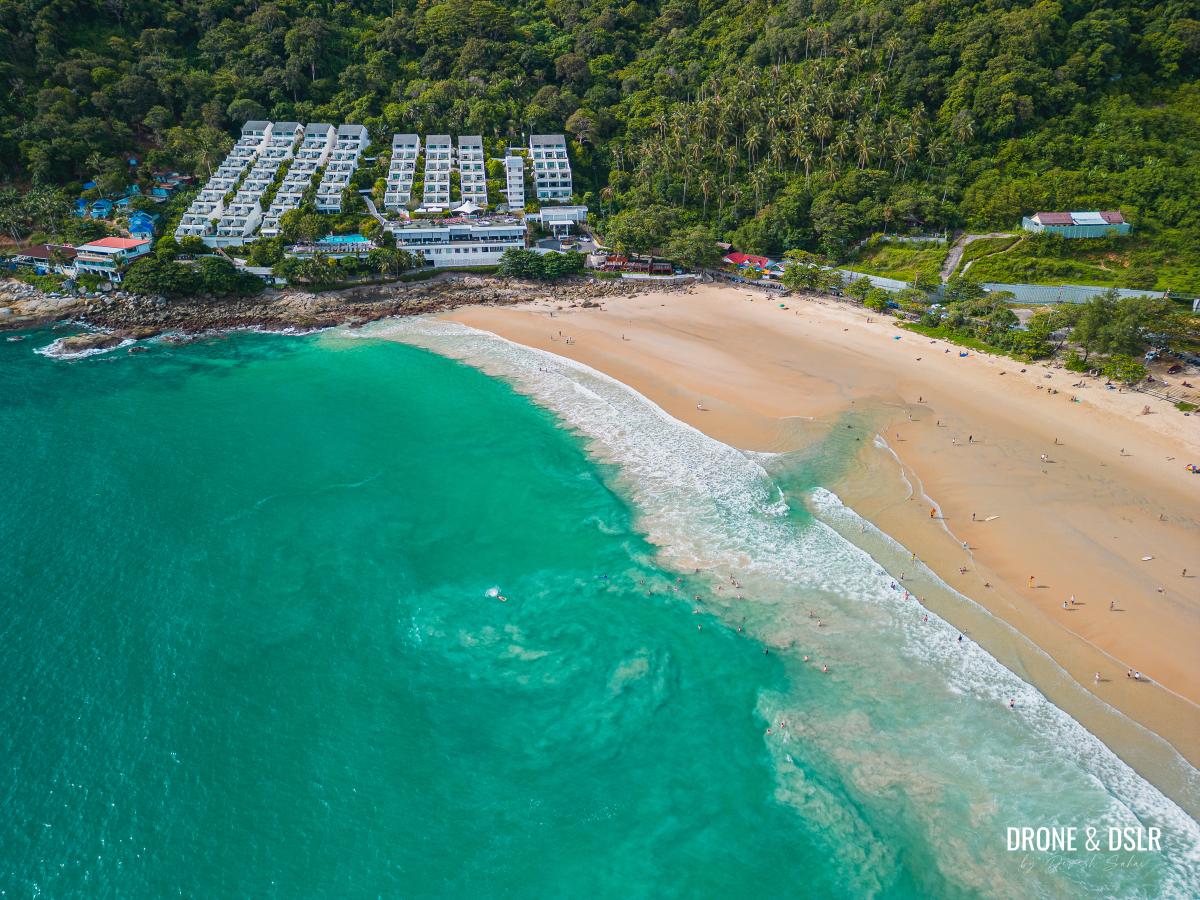
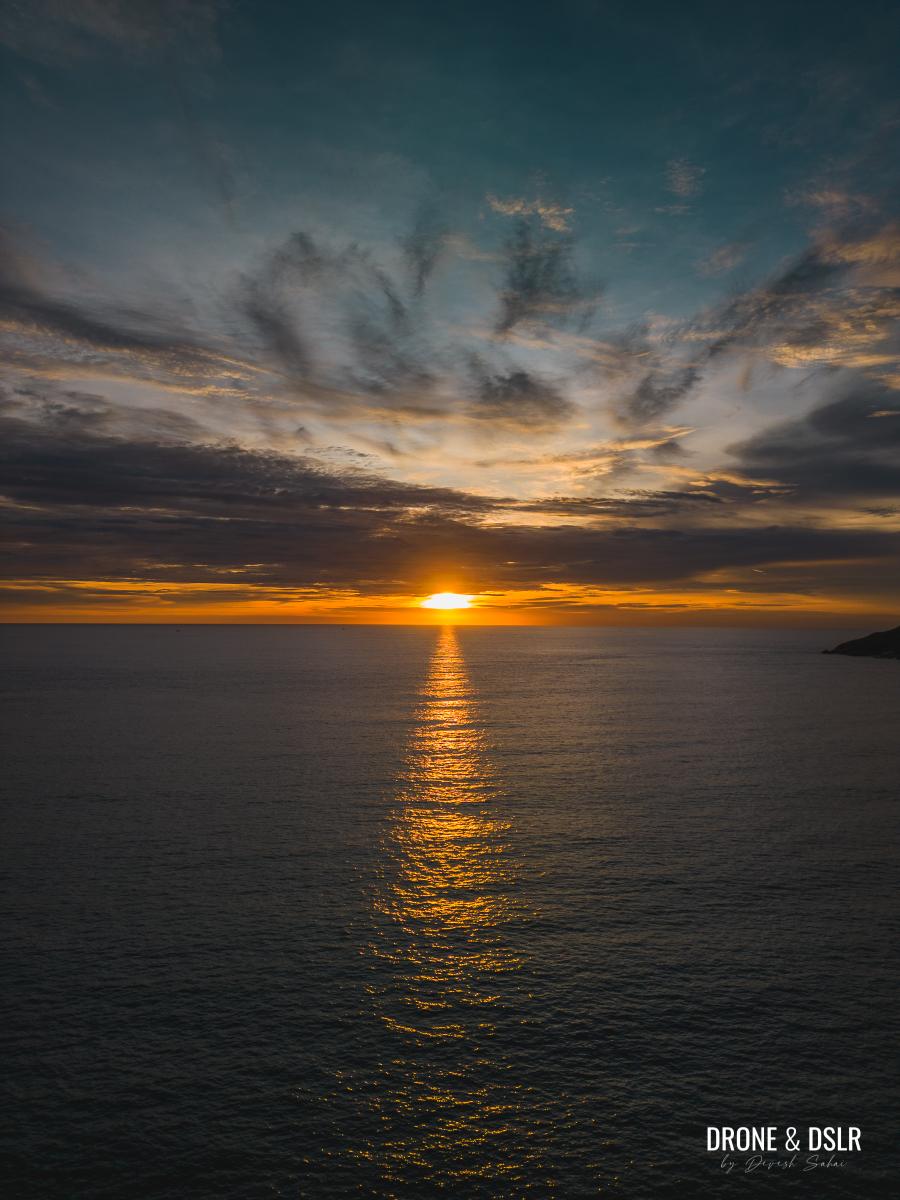
Once you’re over the hurdles of registering your drone, it’s a joy to fly your drone in Thailand and capture incredible photos.
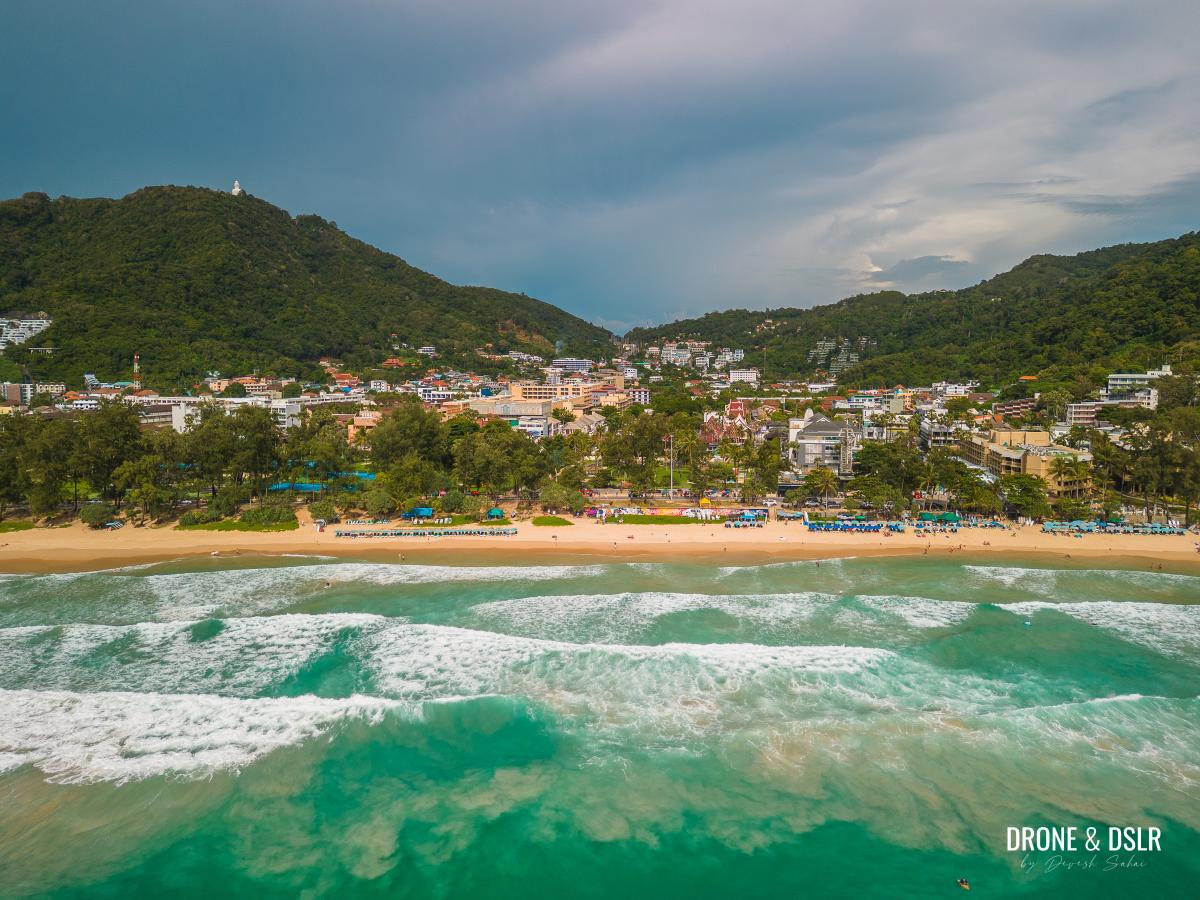
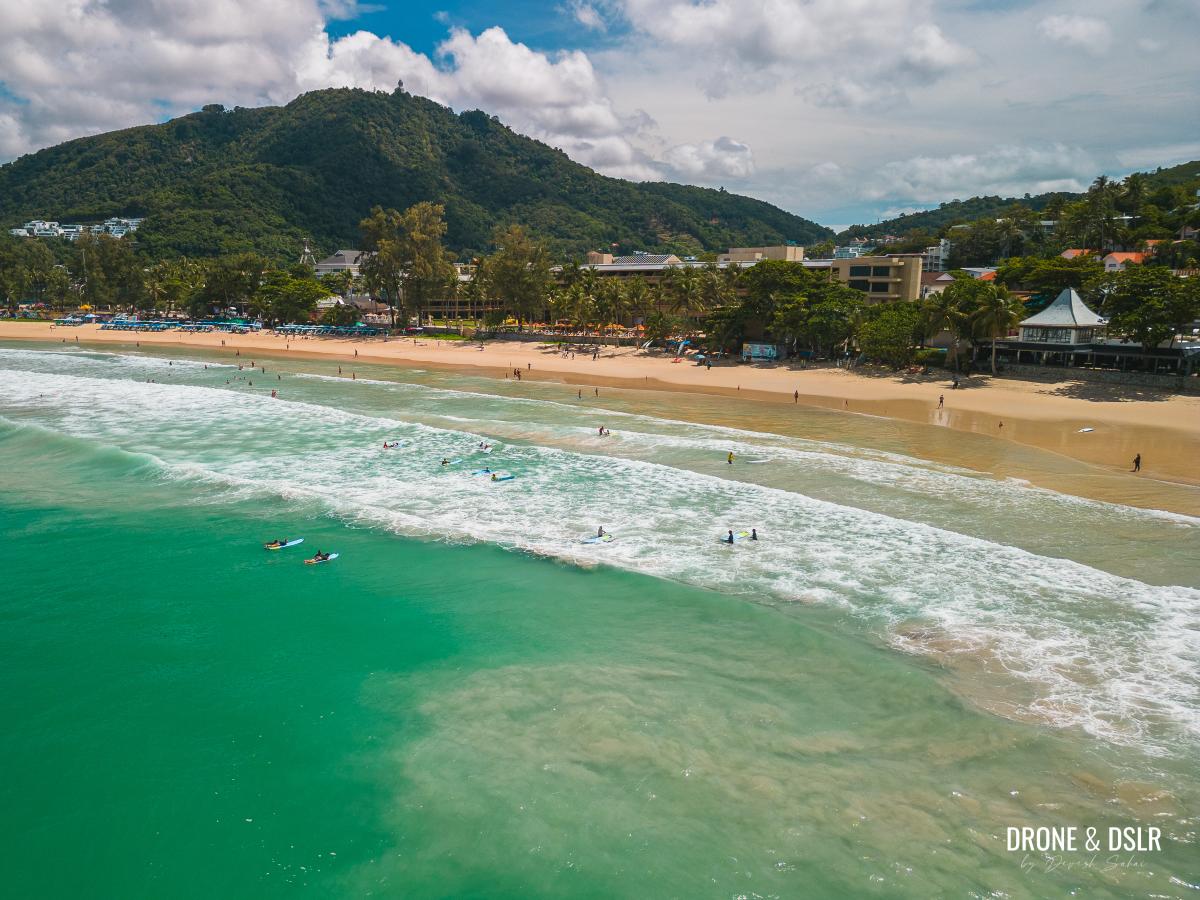
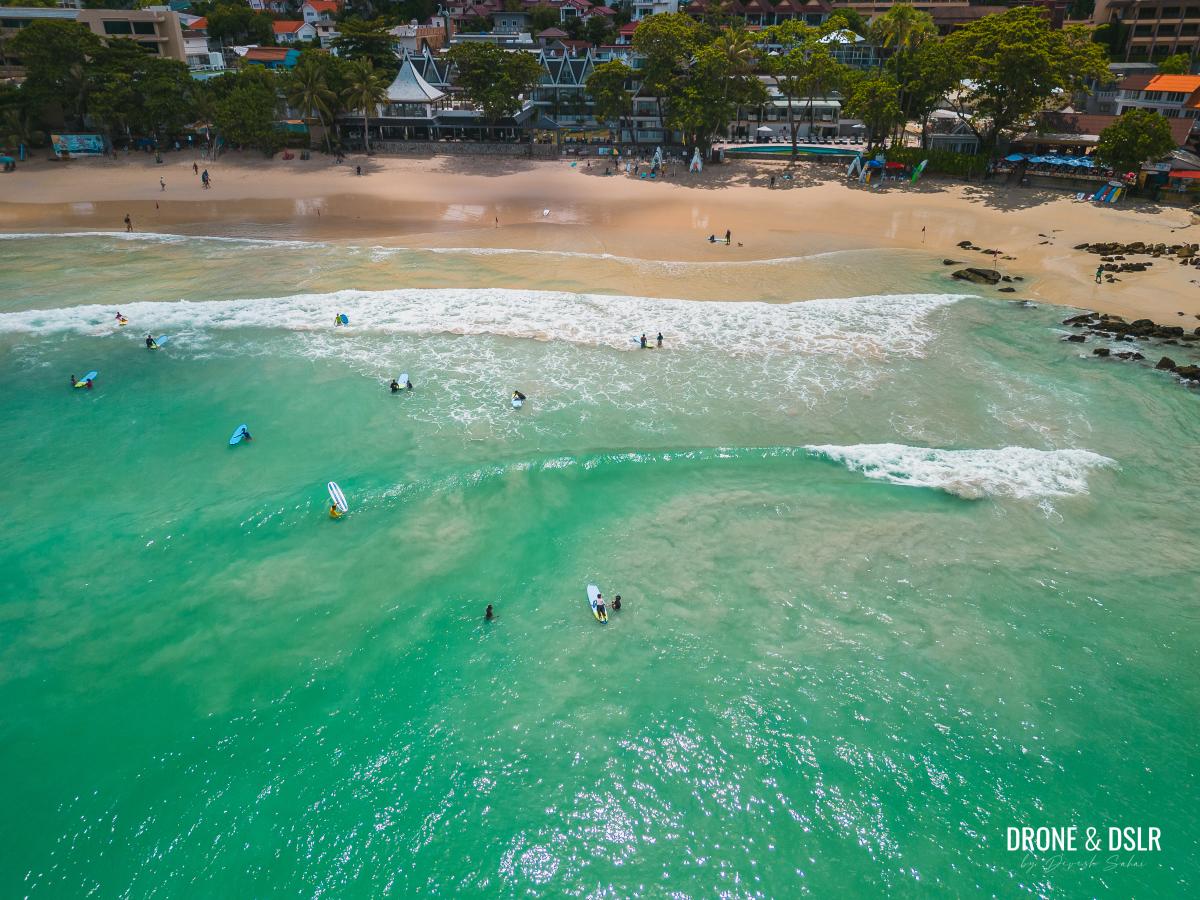
During my stay in Phuket, I saw plenty of drones along the beaches. However, I don’t advise flying over large crowds or within a city.
I didn’t see any other drones while visiting Khao Lak, but that could be because there aren’t as many tourists in this smaller beach town.
I also saw someone flying their drone next to the Big Buddha in Phuket. Technically, that’s a no-fly zone, but luckily no one said anything to the offenders.
Some high-end properties have their own drone rules. During our stay at one such property, there was a sign in the room telling guests that drones are not allowed on the premises.
I guess what they meant was that guests shouldn’t take off their drones from the hotel or fly over the property.
Thailand is relatively drone-friendly. Let’s keep it that way by following the rules and applying common sense while flying your drone in Thailand.
We hope that you found this guide on drone laws in Thailand resourceful.
