Support Us

My Camera Gear and Equipment
Drone & DSLR Gear and Equipment That I Use
This page lists all the gear that I personally use, and recommend. It isn’t meant to serve as a review of products, but rather a selection of cameras, and camera gear selected by me after thorough research.
My Drone
I currently use the DJI Mavic 3 and Mini 3 Pro.
ND/PL Filters
I am a big fan of Polar Pro and use their Vivid Collection filters for my Mavic 3. I don’t think that you can maximize the potential of the Mavic’s camera without a filter.
For my Mini 3 Pro, I use the PGYTech filters.
My Handheld Camera
I use the DJI Osmo Pocket and the Action 3.
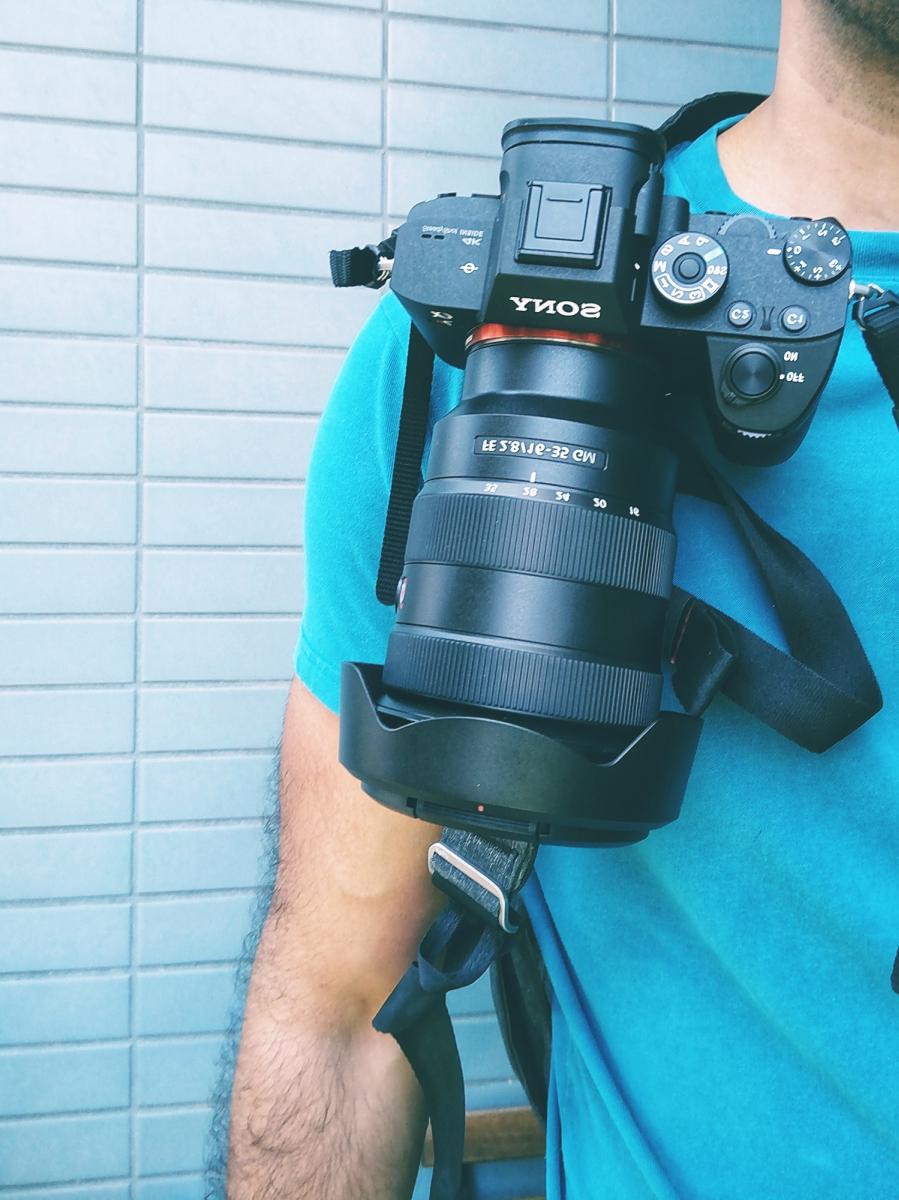
My DSLR
I use the Sony A7RIII mirrorless full-frame camera.
The Sony A7RIII – Look at that thin camera body
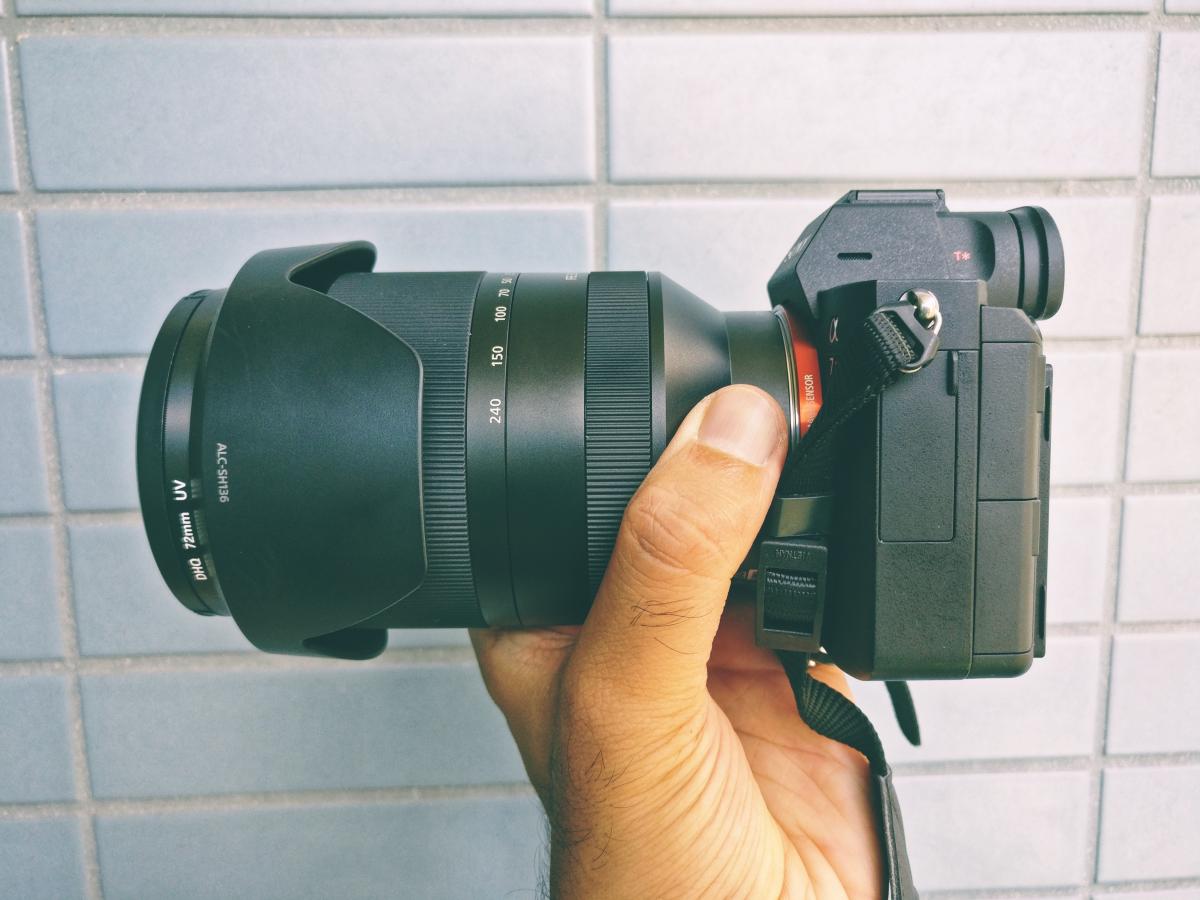
My main lens is the Sony 16-35mm GM

The Sony 16-35mm GM
DSLR Accessories
Backpack Clip
I use the Peak Design Capture Clip to hang my camera onto my backpack.
-
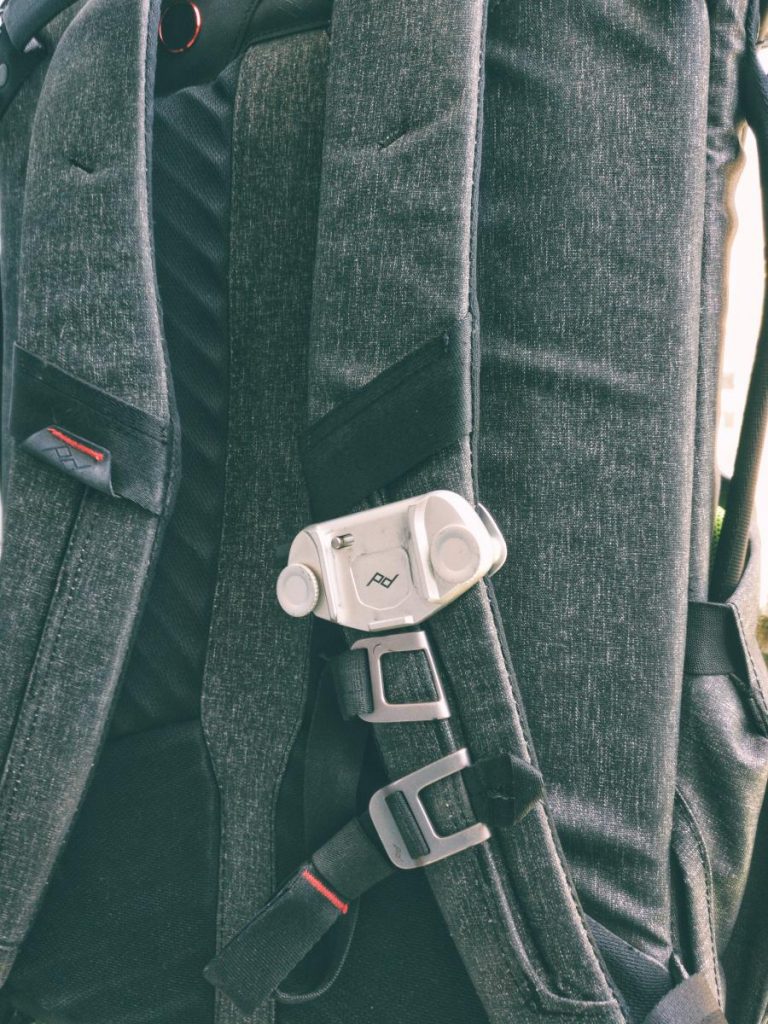
- My Peak Design Capture Clip

-

- The Peak Design Capture Clip makes it super easy to access my camera
My Backpack
I use the Peak Design Everyday Backpack 30L. It fits all my drone & DSLR gear.

The Peak Design Everyday Backpack 30L. Packs in everything!